This tutorial explains how to use the green screen feature in iMovie 10.1. The process is explained from the filming stage all the way to the final product.
Download the tutorial project files: http://specialeffects.imoviehowto.com/imovie-10-1-green-screen-tutorial/
Advertisement
Step by Step Written Guide:
Prerequisites:
Be sure to have the following items before starting this tutorial:
- a Green Screen Video Clip
- a Background Image/Video
Step 1:
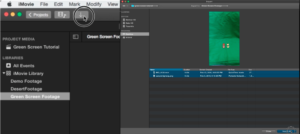
Import the green screen video clip and the background clip into iMovie
Step 2:
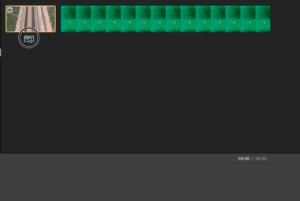
Drag the background clip first into the project timeline.
Step 3:
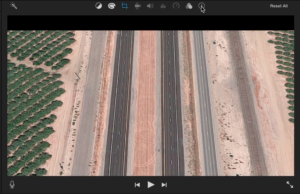
If you imported a video clip as your background, skip to the second half of Step 4. If you imported a background image, select it in the timeline and click on the “i” tab in the adjust panel.
Step 4:
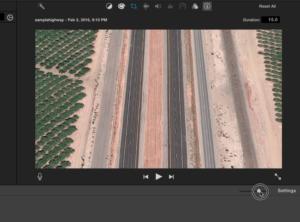
Once inside the “i” panel, change the clip duration setting to a longer duration than the default image length (I changed it to 15 seconds).
Advertisement
Then, drag the thumbnail interval slider to the left to better see the whole project.
Step 5:
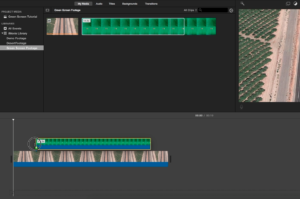
Drag the green screen clip from the event library and place it right above the background clip.
Step 6
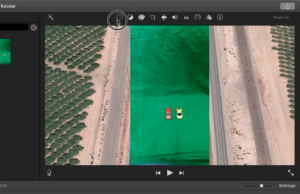
Select the green screen clip and click on the first icon in the “adjust” panel.
Step 7
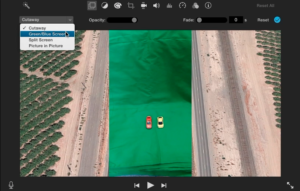
Click on the dropdown menu labeled “Cutaway” and select the “Blue/Green Screen” option.
Step 8
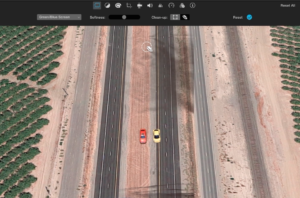
The green color from the green screen clip is keyed out. If there are remnant shadows, remove them by using the eraser tool. Click and drag in the areas where the shadows are located until they disappear.
Step 9
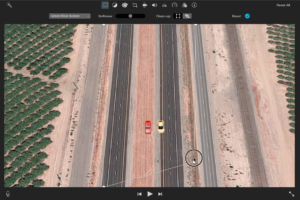
To crop out an area, select the clipping tool, which is right next to the eraser tool. Click and drag the corners so any background bleeding behind the green screen layer isn’t visible anymore. Once finished, press the blue check mark button in the top right corner of the adjust window.
Step 10
Success! Be sure to check out the full video tutorial for final tips about tweaking the green screen clip and for extra info about shooting green video.
